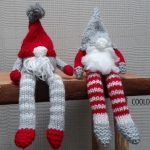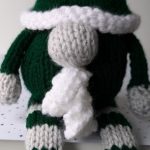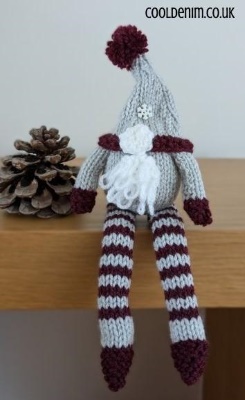
This page contains images/instructions on how to sew and finish the original gnome pattern. The original post was done a long time ago and one of the first patterns I ever created!. It is still proving to be very popular and looking back through the post there is not the full image tutorial instructions that I now include in all my patterns, this page has been set up with this information.
The pattern is still available here.
Instructions for finishing and sewing up the original Scandinavian Gnomes Pattern.
These images show how to complete the gnome after knitting the pieces in the pattern.
| Body | |||
 |
 |
 |
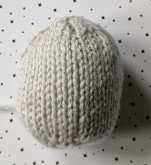 |
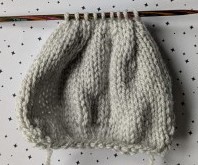
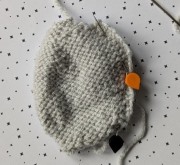
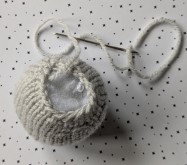
| Knitted body before pulling through final stitches | Fold right sides together, sew leaving a gap for stuffing push this firmly to the bottom to help the gnome sit. | Gather remaining gap with threaded needle, pull tightly and fasten off. | Completed Body |
| Arms and Legs | |||
 |
 |
 |
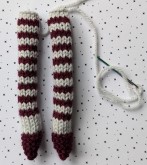 |
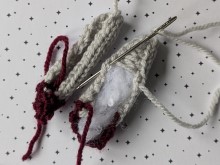
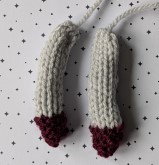
| Fold and stuff lightly. Work from the right side catching the edges of the knitting to close. | Finished arms with seam at the back. | The legs are worked in the same way, matching the stripes as you sew. | Do not over fill the legs at the top, this will help the gnome sit better. |
| Hat and attaching Arms | |||
 |
 |
 |
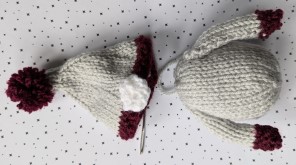 |
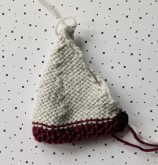
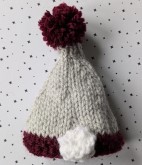
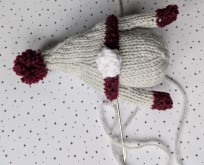
| Fold the hat right sides together and seam. | Turn right side out and attach nose to bottom edge. Add a pom pom if using. | Place the hat on the body and tuck the arms under the hat and pin. | Remove the hat and sew the arms in place. Replace hat and sew to secure. |
| Attaching Legs and Finishing | |||
 |
 |
 |
For ideas on how to make and add a beard, visit how to… beards |
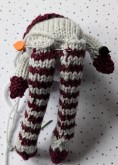
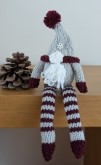
| Pin the legs to the bottom of the body near to the back so it sits on the legs. | To check leg positioning, sit the gnome after pinning and adjust if necessary before sewing. | Completed Gnome! |
