I am currently working on patterns for the upcoming season but wanted to share a quick pumpkin knitting pattern with you. I have created these using a thicker yarn so they are fast to knit if you wanted to do a few for a display or knit a small bowl of them. They are a quick, easy, beginner friendly knit. There is no shaping involved just knits, purls, casting on and off. Full instructions how to sew them together along with the optional stalk are included below.
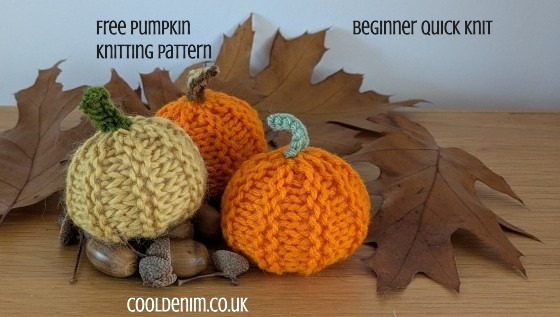
Pattern for Knitted Pumpkins
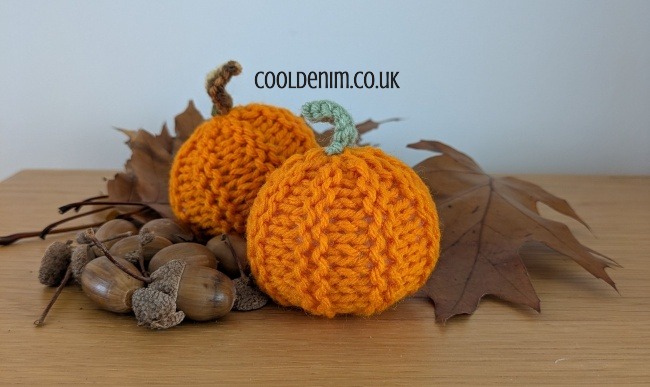
The images above have been knitted using Aran weight yarn (worsted weight, medium) and 4.5mm needle in orange. The yellow one used chunky yarn (bulky) on a 5mm needle. Finished sizes are approx.7cm wide x 5.5cm high (7cm including stalk) 2.5 inches wide x 2 inches high (2.75 inches including stalk)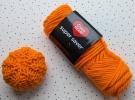
Pumpkin (Main Part) – Knitted with Red Heart Super Saver Yarn on 4.5mm needles.
Cast on 11 stitches
Knit 2 rows,
Purl 2 rows,
Knit 2 rows,
Purl 2 rows,
Knit 2 rows,
Purl 2 rows,
Knit 2 rows,
Purl 2 rows,
Knit 2 rows,
Purl 2 rows,
Knit 2 rows,
Purl 2 rows,
Knit 2 rows,
Purl 2 rows,
Knit 2 rows,
Purl 1 row, (total of 31 rows)
Cast off.
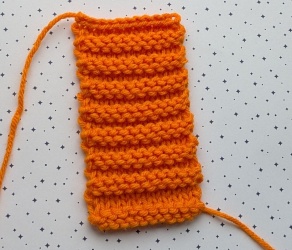
Knitted piece measures approximately 5” long (13cm) and 3” (7.5cm) wide.
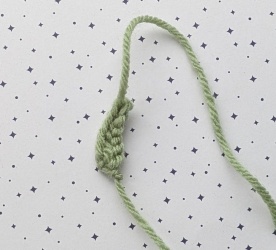
Stalk
Using 4.5mm needles and same weight yarn (Aran) in green, brown or whatever’s available in your stash.
Cast on 7 stitches and then cast off these same stitches – so cast them on and immediately cast them off without working them. Leave a longish tail both ends for sewing. Follow the instructions below to sew and stuff the pumpkin.
 |
 |
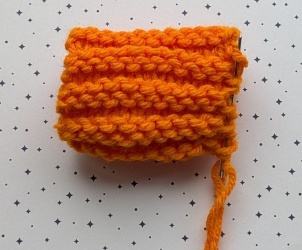 |
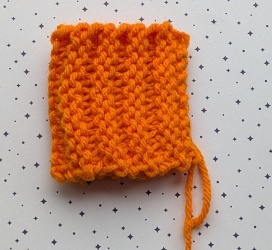
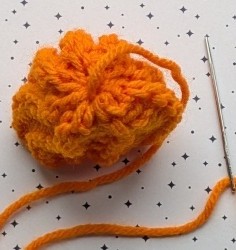
| Completed knitted piece | Fold in half and seam this edge. (Cast on edge to cast off edge) | Thread a needle with tail end/ yarn and run this around the top catching the ends, go all around back to where you started. |
 |
 |
 |
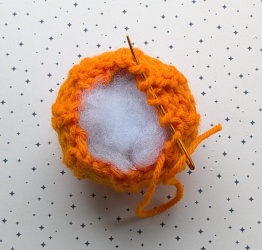
| Pull this up tight, go around with needle to secure and fasten off. Turn this so the seam is inside and you have a cup shape ready to stuff. | Stuff the pumpkin pushing in so it fills out the middle for shape. Thread a needle and repeat to close this end. | So do the same around the top, pull up tightly and use your needle to go round the seam to secure and fasten off. |
 |
 |
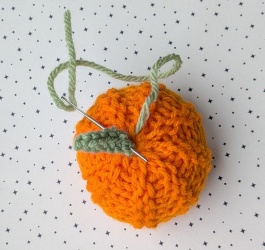 |
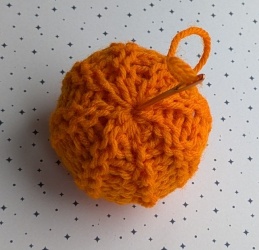
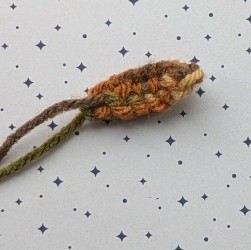
| Stalk ready for sewing. Thread one of the tail ends and weave through the knitting to meet the other tail end. | Pull on the tail end slightly to give it a bit of a curl. | Now attach this to the top of the pumpkin. |
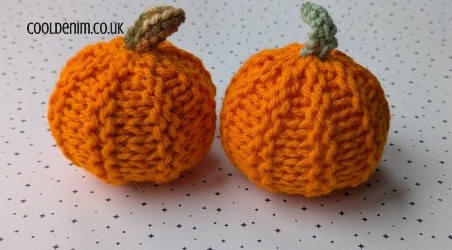
Completed Pumpkins!
© copyright creativeneats cooldenim.co.uk 2025: all rights reserved.