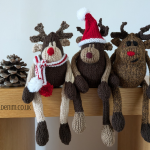
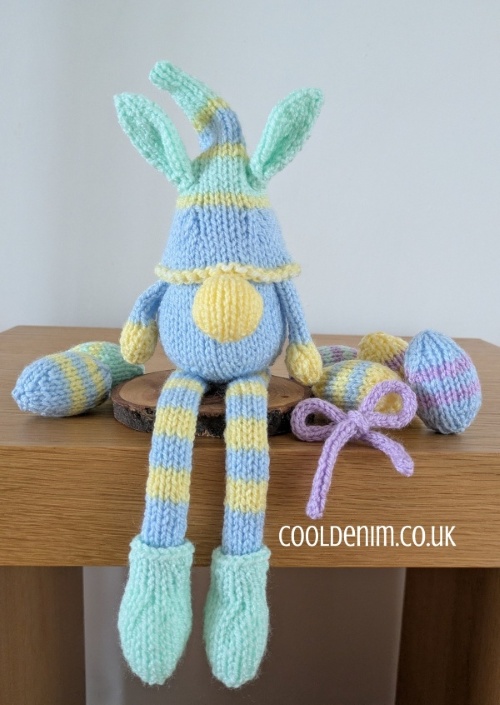
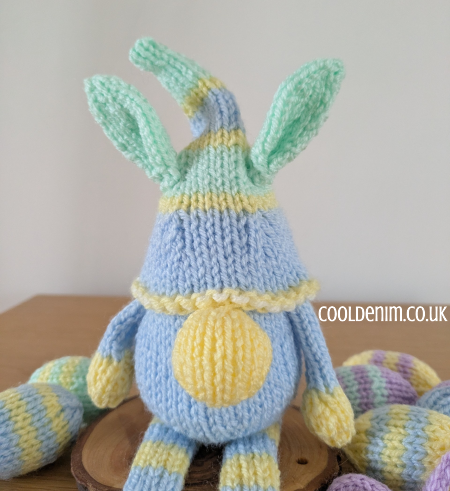
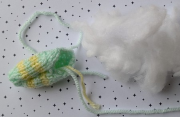
When recently out shopping I noticed the gnomes have changed their outfits to pastel spring colours and grown ears! So … the new knitted gnomes pattern has been knitted in pastel colours and ears have been added. The pattern and instructions for the ears and knitted eggs in the image are at the bottom of this post. The bow is just a knitted i-cord. I don’t like to be left out so knitted these up in between creating my next designs, currently working on knits and crochets for the home, more toys/softies and some really cool retro knits. Happy crafting.
The Gnomes pattern is available in my ravelry store here. ![]() Note: The pattern is in Christmas colours from the original post. Continue below for instructions how to knit the ears and eggs shown in the image.
Note: The pattern is in Christmas colours from the original post. Continue below for instructions how to knit the ears and eggs shown in the image.
Sew the ears on the hat or even the nose.
* Pattern Abbreviations: K-Knit, K2tog- Knit 2 stitches together, P2tog-Purl 2 stitches together – Ears Shown using DK Yarn and 3.5mm needles.
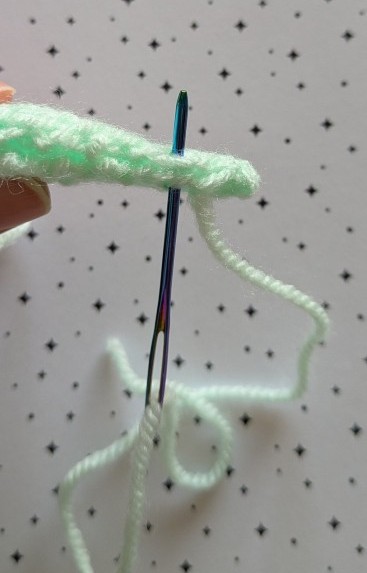
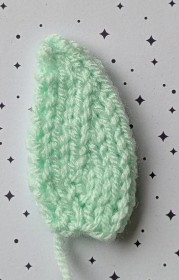
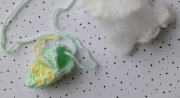
Instructions for the knitted ears:
|
Row 1. cast on 9 stitches. |
 Fold the ear with the right side facing outwards, sew a seam just catching the edges. |
 Flip one ear over so it points in the other direction. |
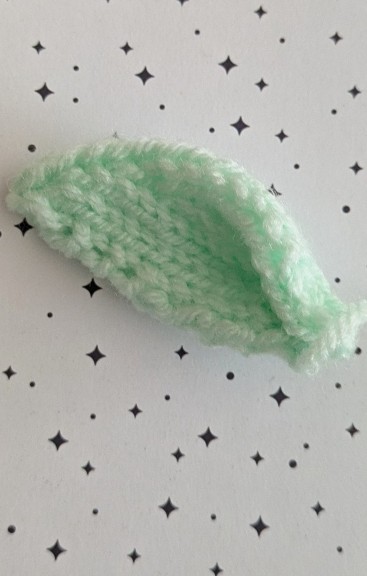 Pinch the ears slightly to shape when attaching and sewing to the gnome or hat.. |
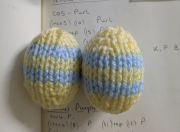
Instructions for the knitted eggs:
|
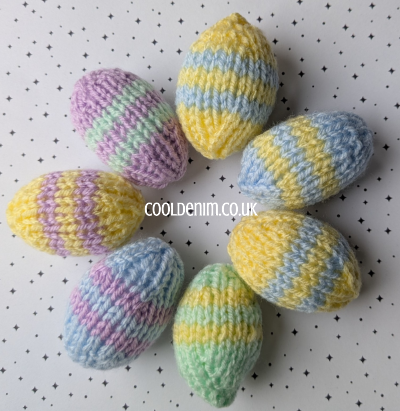
Knitted Stripe Small Easter Eggs Row 1. cast on 5 stitches. |
|
 |
 |
 |
|
|
|
To make the display eggs were knitted on a mixture of 3mm and 3.5mm needles to give slightly different sizes.
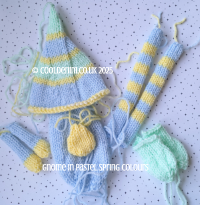 Image left: Knitted pieces from Gnome Pattern in spring colours.
© copyright cooldenim 2025; all rights reserved.