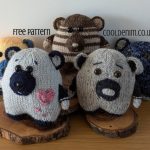
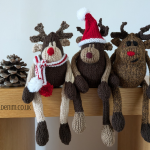
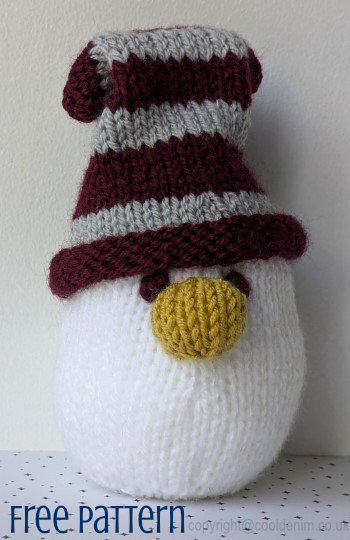
 Free Knitting Pattern for snowmen with beanie hats. The large snowman is easy to knit up. The small snowman has arms but can be knitted without. They look good in a group using different colours and features. Use colours out your stash to make winter snowmen, or reds and greens to make them Christmas Snowmen. The pattern below is the large snowmen.
Materials: DK (Double Knitting) Yarn, 3.5mm knitting needles.
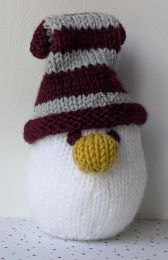
Colours used in the picture are white, deep red and grey. Small amount of yellow for the nose.
Small amount of toy stuffing and an optional circle of card approx. 5cm in diameter.
Sizes:
Approximate finished size – height 15cm (6 inches) with hat
11cm (4.5 inches) without hat
Width 8cm (3.25 inches)
Abbreviations:
KF&b – Knit into the front then back of the same stitch (increases stitch count by one)
K2tog – Knit 2 stitches together (decreases stitch count by one)
If there is a change in the number of stitches, then the amount of stitches you should have on your needle is shown at the end of the row in brackets.
© copyright cooldenim.co.uk 2024 designer: creativeneats; all rights reserved.
Not to shared or distributed without express consent.
Instructions/Pattern
Body – (In White)
Cast on 8sts
K1, KF&b x 6, K1 (14) Purl row
K2, KF&b x 10, K2 (24) Purl row
(K2, KF&b ) repeat to end (32) Purl row
(KF&b, K3 ) repeat to end (40) Purl row
( K9, KF&b ) x 4 (44) Purl row
Knit row, Purl row
Knit row, Purl row
Knit row, Purl row
(K9, K2 tog) rep to end (40) Purl row
Knit row, Purl row
(K2tog, K8 ) x 4 (36) Purl row
Knit row, Purl row
Knit row, Purl row
( K7, K2tog) rep to end (32) Purl row
Knit row, Purl row
Knit row, Purl row
(K2tog, K6) rep to end (28) Purl row
(K5, K2tog) rep to end (24) Purl row
(KI, K2tog) rep to end (16) Purl row
K2 tog x 8, Pull through remaining 8 stitches tightly and fasten off.
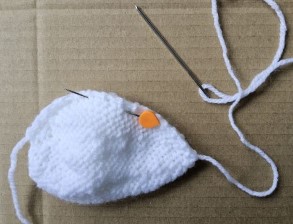
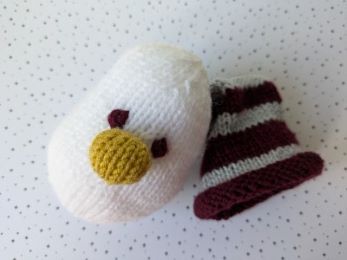
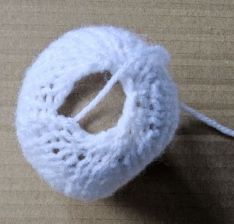
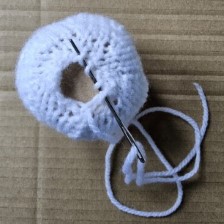
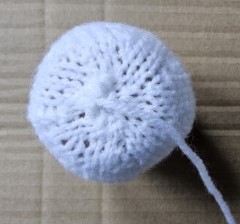
Turn right sides together and sew seam leaving an opening approx. 2/3 cm, turn right side out. Stuff and at this point you can insert a circle of card if required, it just helps it sit better. The circle of card used was about 4/5cm. Finish seaming the opening and close the bottom by stitching around the edge of the circular hole and pulling tightly.
Hat – (Shown in red and grey)
In Red cast on 40 Sts, Purl row
(KF&b, K9) repeat to end, (44) Purl row,
Knit row, Purl row
Knit row, Purl row
(K9, K2tog) repeat to end (40)
In grey with wrongside now facing Knit row
Purl row, Knit row, Purl row
In red, (K8,K2tog) rep to end (36)
Purl row, Knit row
Purl row, Knit row
Purl row
In grey, Knit row, Purl row
Knit row, Purl row
In red, Knit row, Purl row
Knit row, Purl row
In grey, Knit row, Purl row
Knit row, Purl row
In red, Knit row, Purl row
Knit row, Purl row
Cast off knitwise.
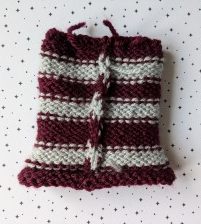
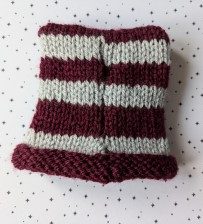
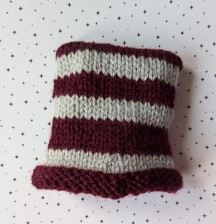
With the wrong sides together, sew side seam leaving top open. Now flatten this so the seam is down the centre and sew across the top. As you look at your hat from inside your seams are a T shape, so the hat has a flat top. Turn hat the right side out.
Nose –
Cast on 3 Sts
KF&b x 3, (6) Purl row,
K1, KF&b x 4, K1 (10) Purl row,
K1, KF&b, K6, KF&b, K1 (12) Purl row
Knit row, Purl row
K1, K2tog, K6, k2tog, K1 (10) Purl row
K1, K2tog, K4, K2tog, K1 (8) Purl row
K1, K2tog x3, K1 (6) Purl row
K2tog x 3 (3)
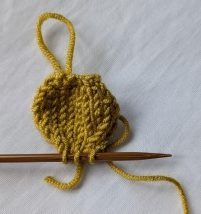
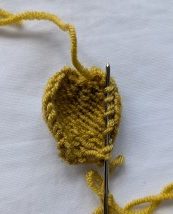
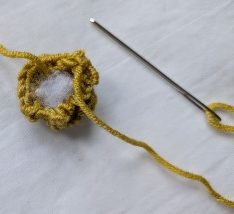
Cut the yarn leaving a long tail, thread this through the remaining 3 stitches to fasten off. Now weave your threaded needle around the edge of the circle, stuff lightly and pull up to form a ball shape.
Attach the nose to the body. Pull the hat onto the body to help position where to place the nose.
The eyes are embroidered on last, using short lengths of yarn.
Copyright @ cooldenim.co.uk 2024; all rights reserved.
Not to be shared without express permission from cooldenim. Pattern or knitted items as a result of this pattern not to be sold or distributed.
